Posted on: 26/01/2024, 07:00
Dental Handpiece Maintenance Guide - Low Speed Motor (Air Motor)
Our Technical Tea m have developed a guide for the operating and maintenance of the Low Speed Motor (Air Motor), Dental Handpiece. Please review the guide below to learn more. Should you have any questions, please contact our Technical Team at tech@vet-direct.com
You should thoroughly familiarise yourself with the operating and maintenance instructions to ensure the smooth and efficient performance of the hand piece.
Before connecting the new hand piece to the hose, ensure all tubing hoses are properly connected to the dental unit. The motor is designed to provide maximum operating speed and torque and to generate speed ranges of 2,000 rpm at 15psi and 5,500 rpm at 30psi through to 35psi.
To attach or detach a hand piece, it is just a simple case of push on and pull off.
For normal forward rotation, fully turn the rotational control ring index (screw) to the “CLOCKWISE” position, then the hand piece operates at full forward speed.
For reverse rotation, fully turn the rotational ring index (screw) to the “ANTI-CLOCKWISE” position, then the hand piece operates at full reverse rotation.
PLEASE NOTE: By placing the control ring index between fully “CLOCKWISE” and fully “ANTI-CLOCKWISE” at the mid-range, it is neutral and the hand piece will cease operation – and cause the air pressure to fall.
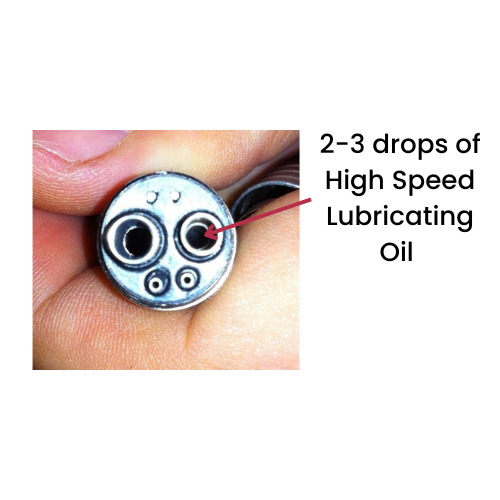
Each day - disconnect the slow speed air motor from the grey tubing by unscrewing the metal collar on the end of the tubing and lubricate through the smaller of the two larger holes on the air motor. Reconnect and run unit for 6-10 seconds.
 m have developed a guide for the operating and maintenance of the Low Speed Motor (Air Motor), Dental Handpiece. Please review the guide below to learn more. Should you have any questions, please contact our Technical Team at tech@vet-direct.com
You should thoroughly familiarise yourself with the operating and maintenance instructions to ensure the smooth and efficient performance of the hand piece.
Operation
Before connecting the new hand piece to the hose, ensure all tubing hoses are properly connected to the dental unit. The motor is designed to provide maximum operating speed and torque and to generate speed ranges of 2,000 rpm at 15psi and 5,500 rpm at 30psi through to 35psi.To attach or detach a hand piece, it is just a simple case of push on and pull off.
Rotational Change, Forward or Reverse
For normal forward rotation, fully turn the rotational control ring index (screw) to the “CLOCKWISE” position, then the hand piece operates at full forward speed.For reverse rotation, fully turn the rotational ring index (screw) to the “ANTI-CLOCKWISE” position, then the hand piece operates at full reverse rotation.
PLEASE NOTE: By placing the control ring index between fully “CLOCKWISE” and fully “ANTI-CLOCKWISE” at the mid-range, it is neutral and the hand piece will cease operation – and cause the air pressure to fall.
Each day - disconnect the slow speed air motor from the grey tubing by unscrewing the metal collar on the end of the tubing and lubricate through the smaller of the two larger holes on the air motor. Reconnect and run unit for 6-10 seconds.

Autoclaving
All the hand pieces are suitable for autoclaving, burs should always be removed.
Oil all hand pieces as described earlier. It is advisable to bag the hand piece during autoclaving, to prevent oil being dispersed into the autoclave. If using half paper and half plastic bags then the paper side should be placed up over to aid evaporation.
After sterilising the hand piece they must be oiled again as previously described and left standing, to drain away any excess oil prior to next use.
Note: The hand piece should be cool before oiling.
You now need to run each component for 6-10 seconds to remove excess oil.
If you have any further questions please contact our Technical Team at tech@vet-direct.com
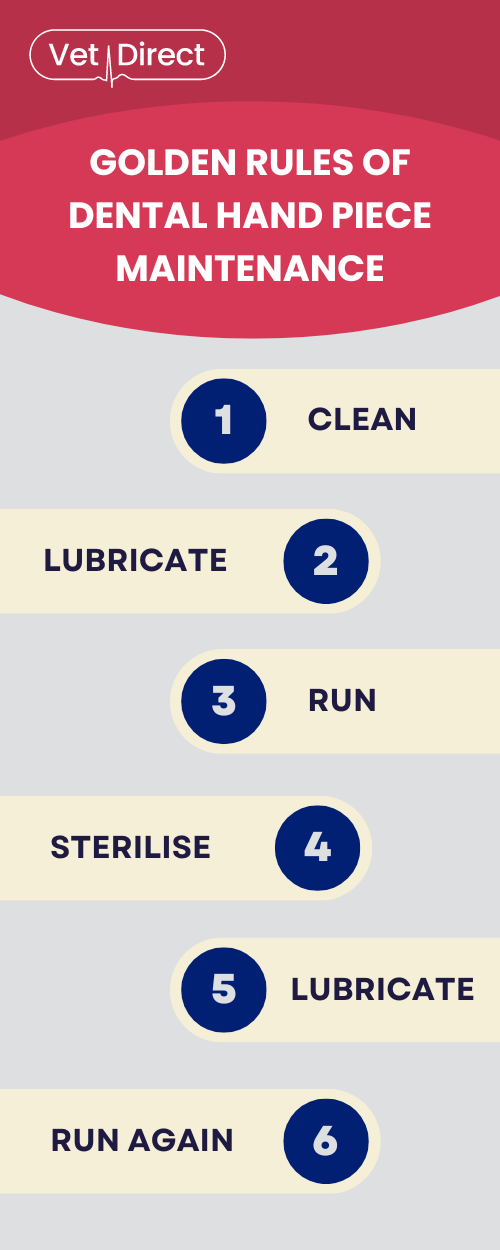
Check out our infographic below, an aid to help remember the FOUR golden rules of Maintenance!


Products You May Like


